
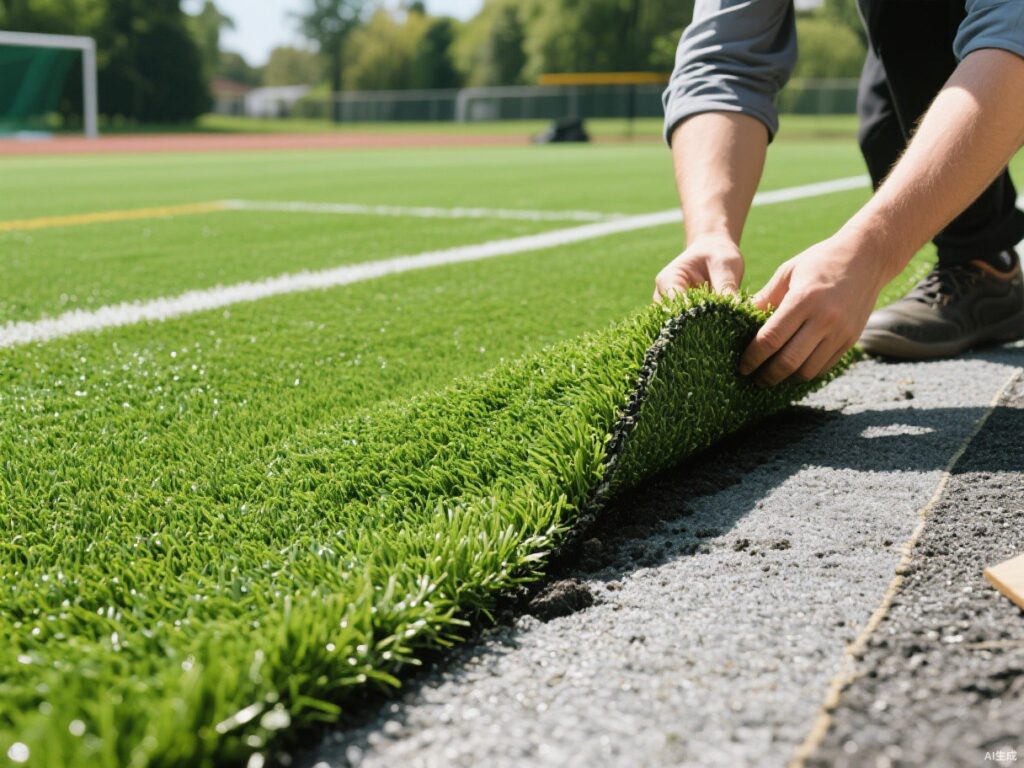
A professional-looking artificial grass installation is mostly about preparation. Get the base right and the rest is straightforward. This guide walks you through the full process.
Tools and materials
- Artificial grass rolls
- Crushed stone / aggregate base
- Weed membrane (geotextile fabric)
- Joining tape and adhesive
- Galvanized U-pins or nails
- Kiln-dried silica sand (infill)
- Compactor, sharp knife, stiff broom
Step 1: Remove existing surface
Strip away grass, roots and debris to a depth of 50–80mm. For hard surfaces like concrete, clean thoroughly and check drainage.
Step 2: Build the base
Install edging, then lay and compact a 50–75mm layer of crushed aggregate. Level carefully — the base should slope slightly (1–2%) for drainage. A smooth, firm, free-draining base is the foundation of a great lawn.
Step 3: Lay the weed membrane
Roll out geotextile fabric over the compacted base to suppress weeds while allowing water through. Overlap joints by 100mm.
Step 4: Position and cut the turf
Roll out the grass and let it relax for a few hours. Ensure all pieces have the pile facing the same direction. Trim edges with a sharp knife, cutting from the backing side for clean lines.
Step 5: Seam the joints
Fold back adjoining edges, lay joining tape underneath, apply adhesive and press the seams together. Keep the gap tight and consistent — well-done seams should be nearly invisible.
Step 6: Secure the perimeter
Fix the edges with U-pins or nails every 200–300mm, tucking the yarn aside so fixings disappear into the pile.
Step 7: Add infill and brush
Spread kiln-dried silica sand evenly (about 5–15kg/m² depending on pile height), then brush against the pile with a stiff broom or power brush. The sand weighs the turf down, supports the blades and improves resilience.
Final checks
Inspect seams and edges, give the whole area a final brush, and rinse lightly if needed. With the base done properly, your lawn will stay flat, drain well and look great for years.